Laptop as Second Monitor: Easy Setup Guide
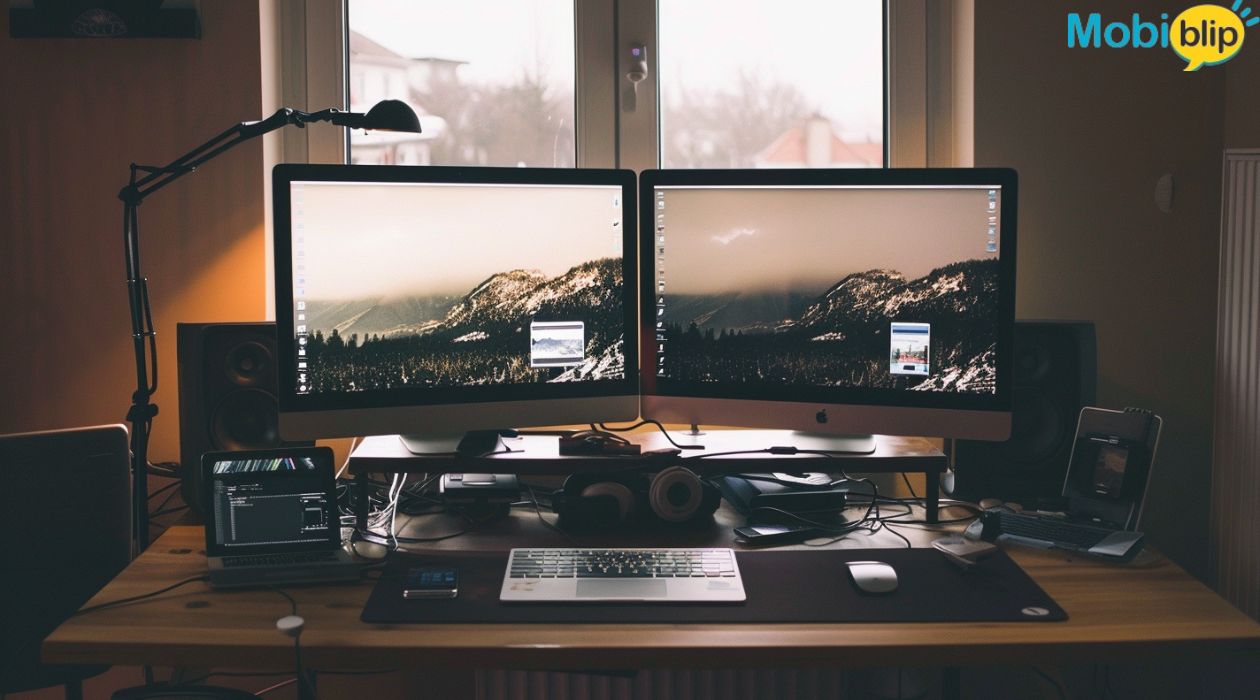
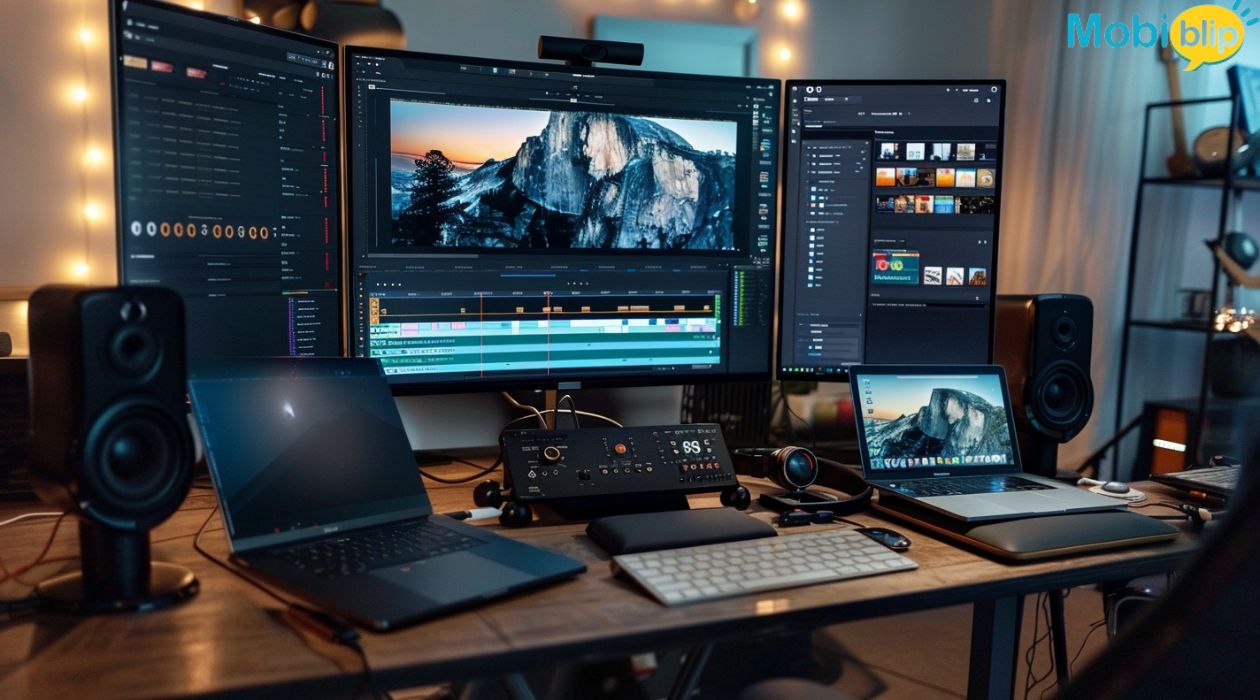
In a pinch, you can actually leverage your existing laptop as a second monitor for your main computer. This is achieved through software that allows your main computer to project its display onto the laptop screen. While not exactly a perfect replacement for a dedicated second monitor, it can be a handy solution for extending your workspace, especially when a dedicated monitor isn’t readily available.
There are several advantages to using a laptop as a second monitor:
Increased Productivity: Having extra screen real estate allows you to open more programs and windows simultaneously, which can significantly boost your multitasking efficiency.
Cost-effective alternative: If you don’t need a second monitor on a regular basis, utilizing your laptop eliminates the additional cost of purchasing a dedicated monitor.
Portability: Since you’re using a device you already have, this setup offers a portable solution for creating a dual-monitor workspace on the go.
How to Use Your Laptop as a Monitor
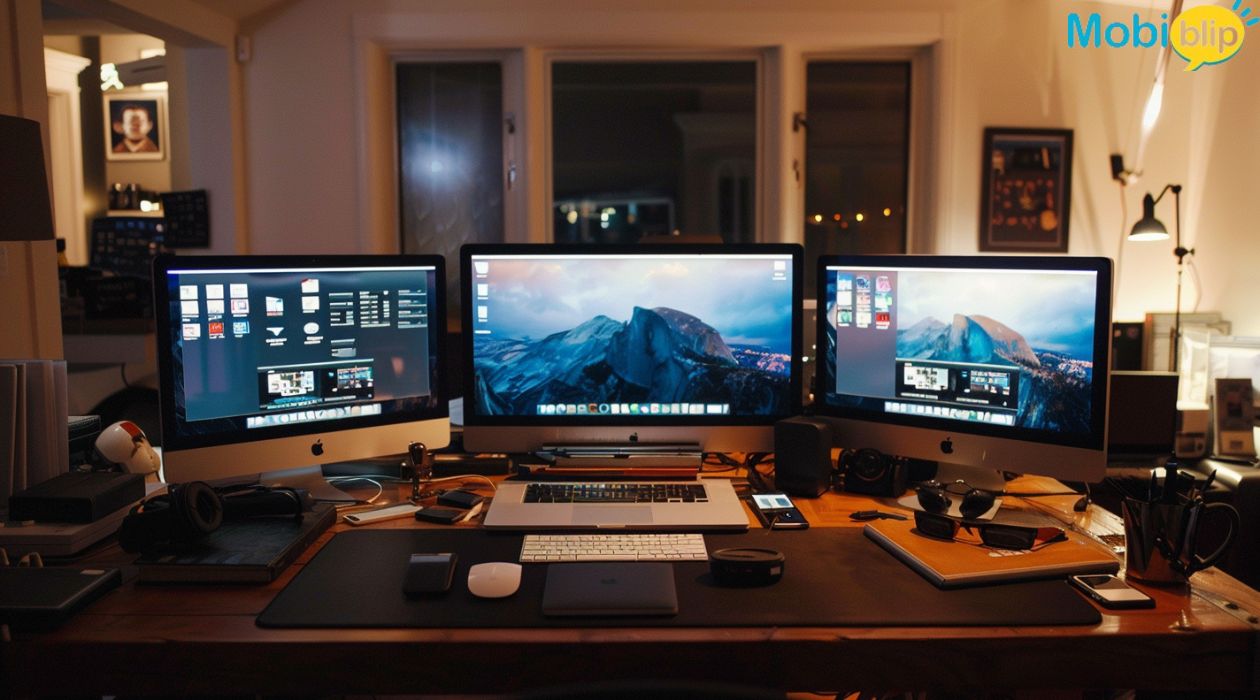
Method 1: Wired Connection (HDMI, VGA, etc.)
While less common nowadays, a wired connection can offer a more stable experience compared to wireless methods. Here’s how to set it up:
- Identify your ports: Locate the video output port on your main computer (usually HDMI, DisplayPort, or DVI) and the video input port on your laptop (likely HDMI). You might need an adapter if the ports don’t match.
- Connect the cables: Securely connect the video cable between the two computers’ ports.
- Project your screen: On your main computer, access the display settings (often by pressing Windows key + P). Choose the “Extend” option to utilize the laptop as a second monitor. Your laptop’s display should now mirror or extend your main computer’s desktop.
Adjust screen resolution: Right-click on your desktop on the main computer and select “Display settings”. Here you can adjust the resolution of each monitor independently for optimal viewing.
Arrange your displays: Drag and drop the displays in the settings menu to match their physical layout (left or right of each other).
Method 2: Wireless Connection (Miracast, AirPlay, etc.)
Wireless connections offer convenience but may introduce latency (delay). Here’s how to use them:
- Compatibility check: Ensure both your main computer and laptop support the same wireless projection standard (e.g., Miracast for Windows, AirPlay for Mac).
- Enable wireless projection: On your laptop, look for settings related to “Projecting to this PC” (Windows) or “AirPlay” (Mac). Enable the option to make your laptop discoverable.
- Project from the main computer: Access the display settings on your main computer and look for options related to “Connect to a wireless display”. Choose your laptop from the list of available devices.
Pros: Convenient setup, no cables required.
Cons: Potential lag or display stuttering, may be less reliable compared to wired connections.
Note: These are general instructions, and specific steps may vary depending on your operating system and laptop model. Consult your device’s user manual if needed.
Using a MacBook as a Monitor for a PC
There’s a slight twist when using a MacBook as a second monitor for a PC. Unlike Windows PCs that can project directly to other devices, MacBooks lack a built-in option to receive video input as a secondary display. However, there are workarounds using third-party software.
The main hurdle is the missing video input functionality on MacBooks. Here are two common approaches:
Screen Mirroring Apps: Several third-party apps like Duet Display, Luna Display, and Air Display facilitate using your MacBook as a second monitor for a PC. These apps typically involve installing software on both the PC and MacBook, allowing the PC to essentially mirror its display or extend the desktop onto the MacBook.
USB Capture Card: A more advanced approach involves using a USB video capture card. This device connects to your PC via USB and captures the video signal. The software bundled with the capture card then displays the captured video on your MacBook screen.
Here’s a general guideline using screen mirroring apps (specific steps may vary depending on the app):
- Download and install the app: Locate and download the chosen screen mirroring app on both your PC and MacBook.
- Launch the app: Run the app on both devices and follow the on-screen instructions for setup. This usually involves creating an account and connecting the devices over the same Wi-Fi network.
- Extend or mirror your display: Within the app’s settings on your PC, choose to extend or mirror your display to the MacBook.
- Adjust settings (optional): You might be able to adjust resolution and other display settings within the app for optimal viewing on your MacBook.
Note: These mirroring apps often come with a free trial period, requiring a purchase for continued use. Consider the free trial to assess performance and suitability before committing.
Laptop as a Monitor for Consoles
Directly using a laptop as a monitor for consoles like PS4 isn’t as straightforward as connecting two PCs. Here’s why:
- Laptop Ports: Most laptops only have HDMI output ports, designed to send video signals out, not receive them like a monitor.
- Console Output: Consoles like PS4 typically output video through HDMI, but cannot function as a video source for another device.
However, there are alternative methods to achieve a similar outcome:
Remote Play Apps: Console manufacturers often offer dedicated apps for remote play functionality. For example, Sony offers PS Remote Play for PC, allowing you to stream your PS4 gameplay to your laptop screen over a Wi-Fi network. Similar apps exist for Xbox and Nintendo Switch.
Capture Card: This external device connects to your console via HDMI and your laptop via USB. The capture card captures the console’s video signal and transmits it to your laptop software, essentially displaying the console gameplay on your laptop screen. This method offers lower latency compared to remote play apps, but requires purchasing the capture card.
Using Remote Play Apps
- Download and install the relevant app (e.g., PS Remote Play) on your laptop.
- Configure remote play settings on your console, enabling remote play and potentially adjusting resolution for streaming.
- Launch the app on your laptop and follow the on-screen instructions to connect to your console over Wi-Fi.
Using a Capture Card
- Connect the capture card to your console via HDMI and your laptop via USB.
- Install the software bundled with the capture card on your laptop.
- Launch the capture card software and follow the instructions to set it up as a video source. The software should display the console gameplay on your laptop screen.
- You might be able to adjust display settings within the capture card software for optimal viewing.
Note: Both methods have limitations. Remote play apps can introduce latency depending on your Wi-Fi network quality. Capture cards, while offering lower latency, require additional purchase and may introduce slight input lag.
In Crux
Using a laptop as a second monitor can be a resourceful solution in various situations.
Overall, using a laptop as a second monitor is a viable option for casual users or those needing a temporary extension to their workspace. For professional tasks requiring consistent high performance or extended use, a dedicated monitor might be a better long-term solution.
How much did you like our detailed How to Use Your Laptop as a Second Monitor? Also, please share these Blogs with your friends on social media.
Related Blogs


